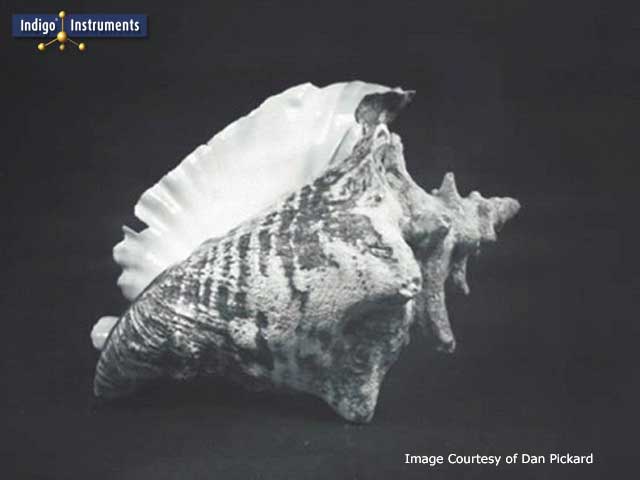
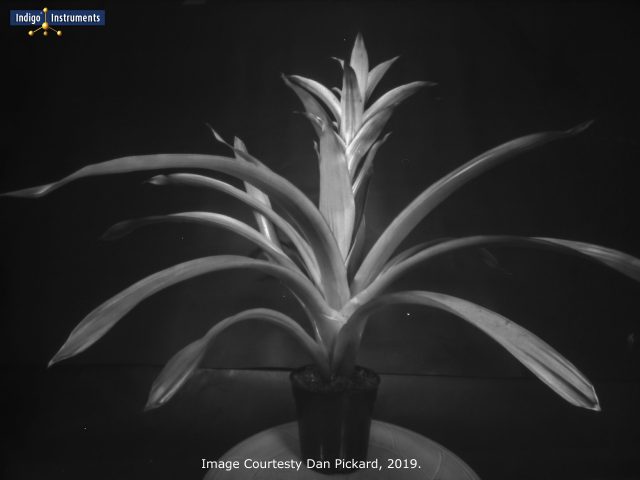
Insect pins are versatile tools we explored previously in Insect Pins, Not Just for Bugs. In it, we briefly mentioned this blog’s topic on pinhole photography. This technique provides an interesting twist on how a simple biology tool helps demonstrate a physics principle which in turn explains an important step in eye evolution.
Diffraction and Pinhole Photography
Pinhole photography works because light bends around the edges of objects. This is entirely different from light bending due to gravity as predicted by the General Theory of Relativity but is related to x-ray diffraction which revealed the helical structure of DNA.
The mathematical explanation for diffraction is beyond the scope of this article but most of us have experienced it in the real world. It is how squinting works; a handy workaround if you’ve misplaced your glasses.
Pinholes & Eye Evolution
Pinhole photography can be used to illustrate an important intermediate step in eye evolution. This technique mimics the focusing and resolution limits of an eye that has no lens. Such an eye can still be found in living animals such as Nautilus sp. a cephalopod mollusk related to squids and octopuses. Such an eye has its limitations, especially when hunting for food that moves quickly but is vastly superior to a simple pit.
Pinhole Photography
Dan Pickard, a Seattle teacher, has sent us pictures and information on how he uses pinhole photography in his physics classes. We’ve edited his e-mails for this blog but these are his own words for the most part.
“Most pinhole photographers use a “paper negative”, a piece of darkroom enlarging photo paper (for best results avoid glossy). We then develop the paper, scan it, and then invert it to a normal image B&W photo. There are also ways to use a paper negative to make a paper positive but that is not done nearly as often as scanning.
All-purpose standard sewing pins vary and are about 0.6 mm or larger. So using your insect pins that have a range of precise diameters is better for those looking to optimize results. Unless you have a large camera (in terms of focal length) standard sewing pins and push pins are just too big and result in a blurry image.
I have made a pinhole camera – really a camera obscura out of a large appliance box (like a refrigerator. Students sit in it on a short stool and the image passes through a small round hole/aperture in the box over their shoulder and projects on a white piece of paper (a screen in front of them).
The size of the hole in the box can be calculated with the online resource (References #1 & 2) I sent. However, it is best to try other sizes near that predicted value – if you want the best possible image for your camera obscura. Fancy ones use a mirror above and project down inside the dark enclosure, room i.e. “camera.
I have heard of folks putting a hole in the lens cap of a digital camera but I don’t know if/how this works. Frankly, a big part of the fun is the analog, non-digital aspect of using real photo materials and chemistry.”
Insect Pins for Pinhole Photography
“I used your stainless steel #1 pins with a 0.4 mm diameter as I found they work best in terms of the focal point (i.e. sharp image) in my camera. My camera design has a focal length of 95mm which is the distance light travels from the front aperture (the pinhole in this case) to the film (or photo paper) at the back of the camera. I use 5”x7” B&W paper to create negatives.
A shorter focal length camera ideally would use a smaller diameter pin such as the #0 (.35 mm) but this requires a much longer exposure time that it may not be worth the slight amount of extra sharpness gained.
Faster exposure times with larger diameter pins may be preferred by some photographers. I suggest a range of pins range of sizes such as your sampler pack of insect pin sizes 000-7. Typically you would not use the 000 which is too small or the #7 which is too large. Use a pinhole calculator and experiment to get the quality you want.
The pinhole size affects three things:
1) focus
2) exposure time
3) size of the image (projected onto the back of the camera)”
Pinhole Photography Examples
Dan sent us these beautiful examples of pinhole photographs.
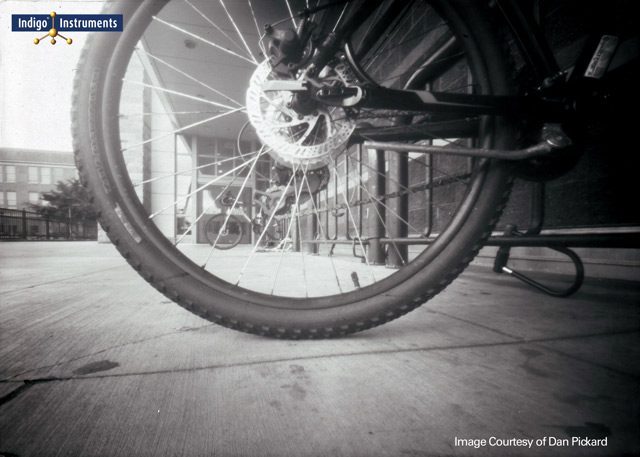
Pinhole photograph of a bicycle. Notice the depth of field, objects in the background are also in focus. An interesting advantage of no lens.
About Dan Pickard
Dan Pickard, B.A., M.Ed. is a National Board Certified Teacher. He has been buying insect pins from Indigo Instruments for many years. He kindly provided us with beautiful pictures as well as many of the resources he has accumulated for making them possible.
His current posting is:
Roosevelt High School
Science Department
1410 NE 66th St
Seattle WA 98115
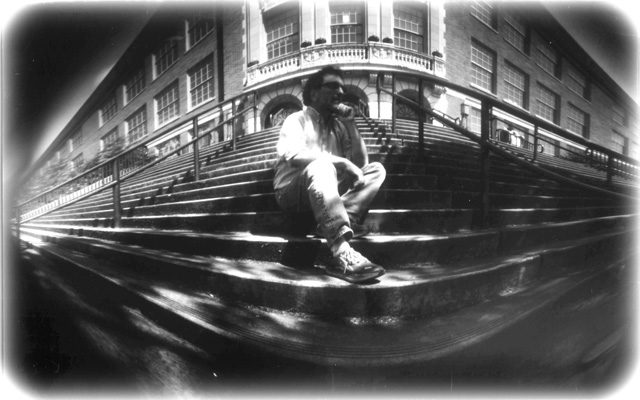
A self-portrait of Dan Pickard on the steps in front of Roosevelt High School in Seattle, WA. The original image is 6000×4000 pixels.
References & Resources
- Pinhole size calculator. A very old site but still useful.
- Focal length vs pin diameters. Table instead of a calculator
- Making a camera obscura out of plywood.
- Finding the road to interdisciplinary research: at the crossroads of biology/physics
- Pinhole photography. Wikipedia article with a very good overview.
- Insect pins. Sizes 000-7, stainless steel or black enamel.


